Flash制作光晕变幻的动画效果:
Flash来模拟光晕变幻的动画效果,通过色彩的调节变换,增加层次感和视觉效果,感兴趣的朋友可以过来学习一下哦!
步骤:
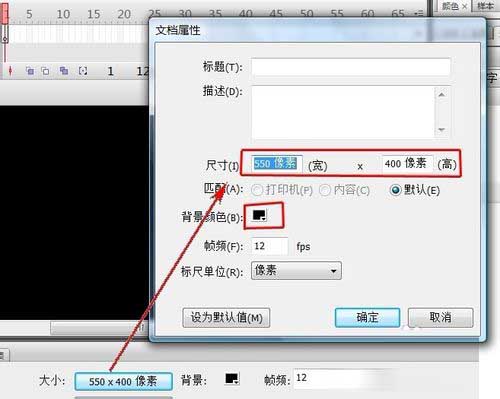
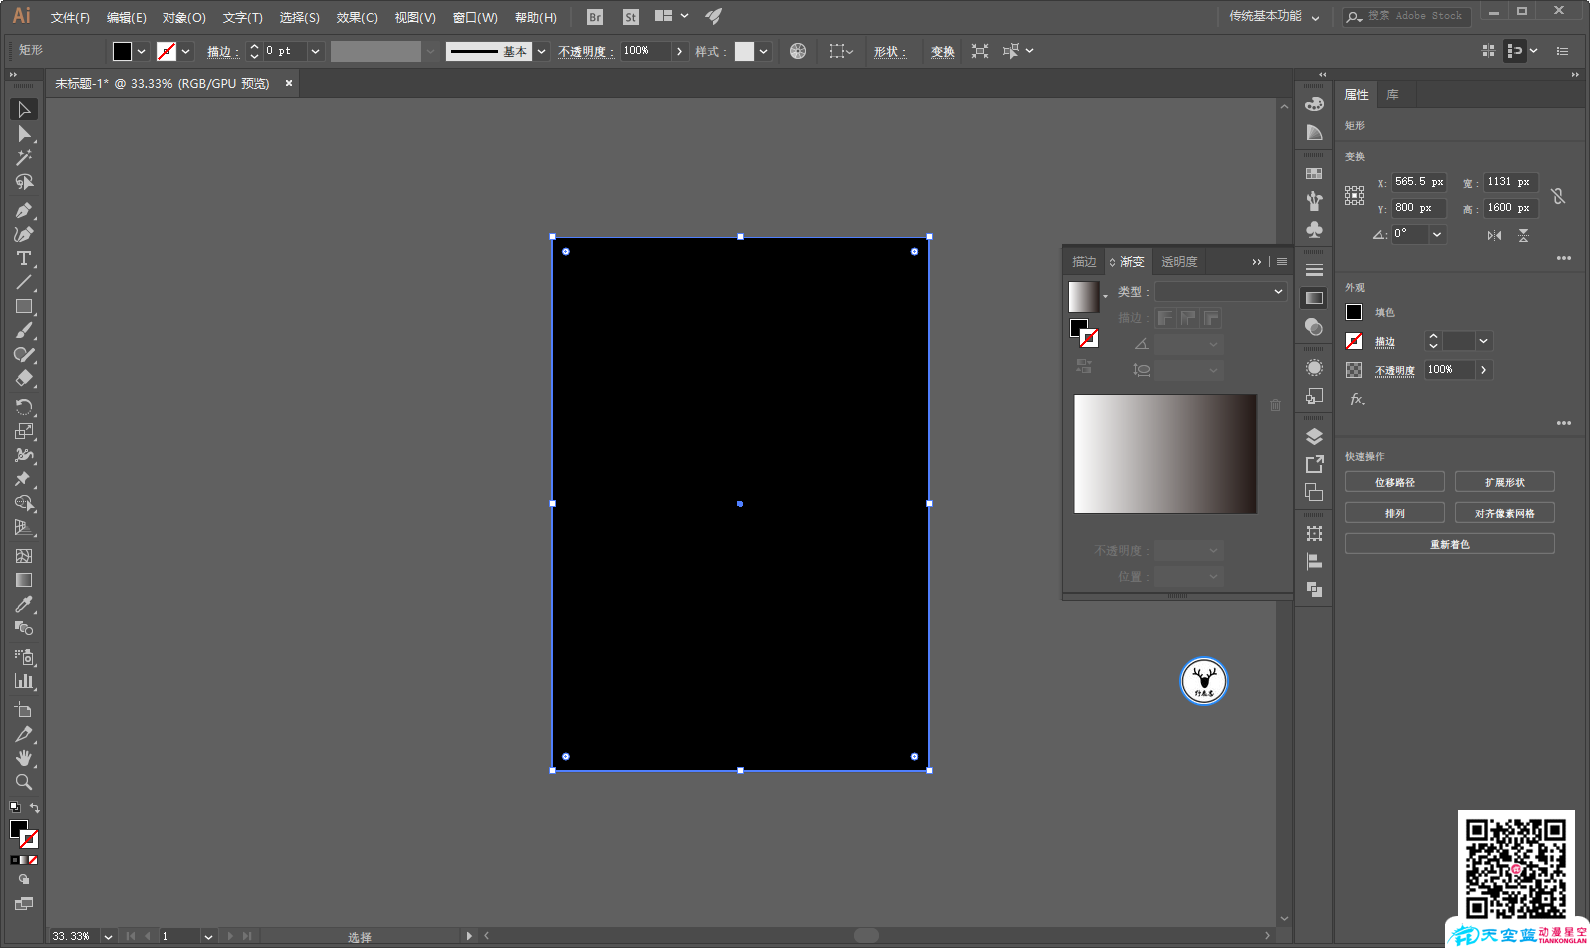
1、新建一文档,设大小为550×400像素,背景为“黑色”。
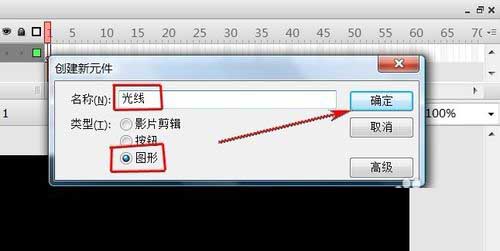
2、“Ctrl+F8”新建一元件,名称为“光线”,类型为“图形”。
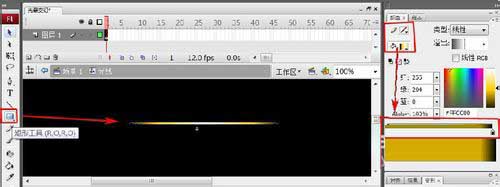
3、选中“图层1”第1帧,用“矩形工具”绘制一个又长又细的矩形,设矩形的边框为“无”,填充色为“黑—黄—白—黄—黑”线性渐变。
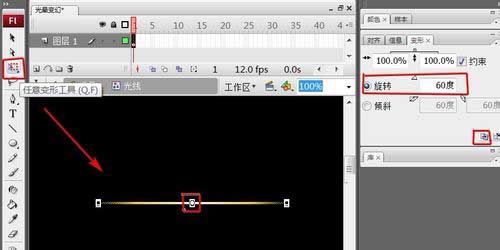
4、选中渐变的矩形,中心点放在矩形的正中心,在“变形”面板里,设旋转为“60度”,连续按两次“复制并应用变形”。
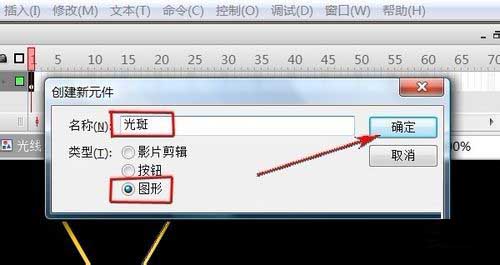
5、“Ctrl+F8”新建一元件,名称为“光斑”,类型为“图形”。
6、用“椭圆工具”在页面画一个圆,设边框为“无”,填充色为“桔红色”,并设Alpha值为“10%”。

7、“Ctrl+F8”新建一元件,名称为“光源”,类型为“影片剪辑”。

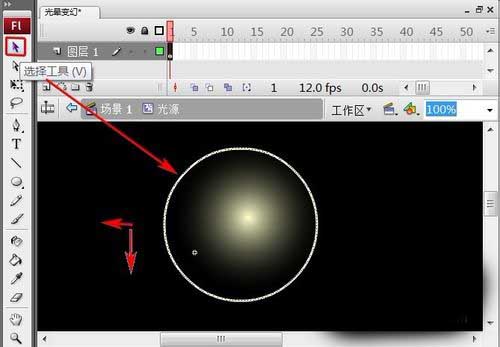
8、用“椭圆工具”在页面画一个大圆,设边框为“淡黄色,1像素”,填充色为“淡黄—黑”放射线渐变,并设渐变中黑色的Alpha值为“5%”。

9、用“选择工具”选中大圆的边框,用键盘上的“←”向左移动5像素,用键盘上的“↓”向下移动5像素。
10、新建“图层2”

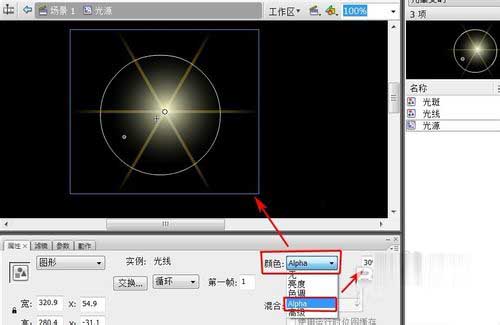
11、选中“图层2”第1帧,把“光线”元件拖上页面上。

12、选中刚拖进来的“光线”,在“属性”面板里设“颜色”—“Alpha”的值为30%。
13、新建“图层3”
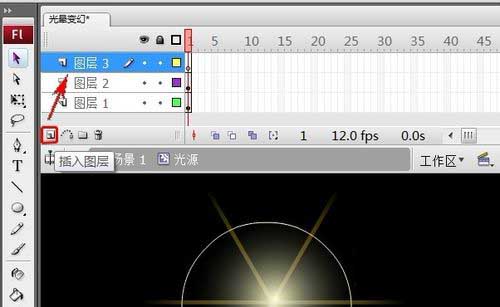
14、把“光斑”元件拖到“图层3”里的合适位置。
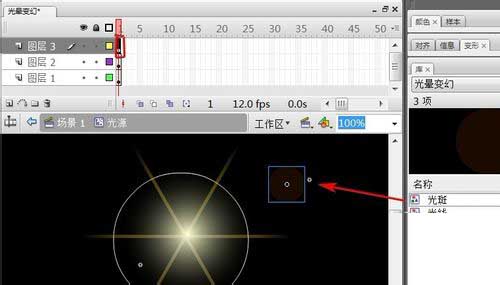
15、用“Alt+选择工具”复制多个光斑,并调整光斑的大小。返回场景。

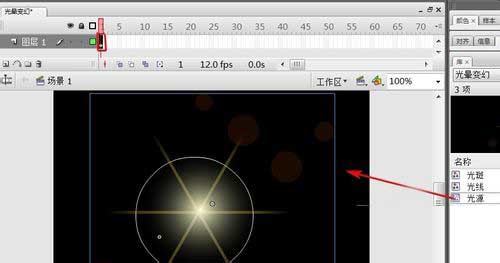
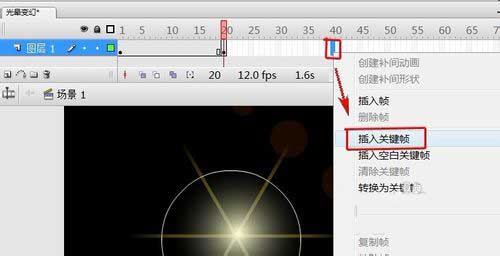
16、选中“图层1”第1帧,把“光源”元件拖上页面上。
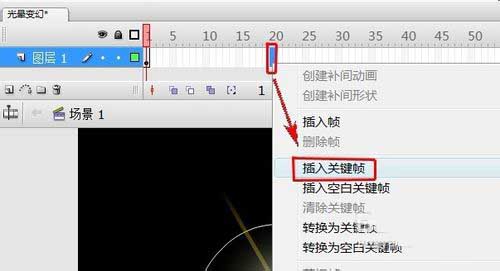
17、选中“图层1”第20帧,右键选择“插入关键帧”。
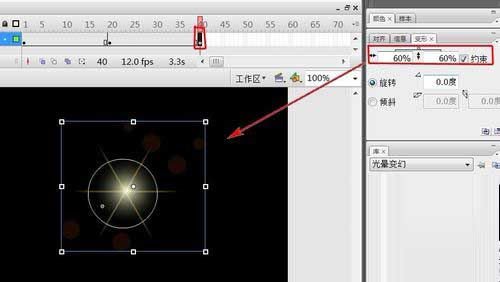
18、选中“图层1”第1帧,在“变形”面板里选择“约束”,在水平缩放或垂直缩放里输入缩放值为60%,然后按键盘中的“Enter键”确认。
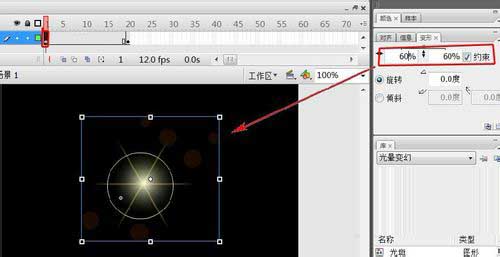
19、选中“图层1”第1帧变形后的图形,在“属性”面板里设“颜色”—“Alpha”的值为30%。

20、选中“图层1”第40帧,右键选择“插入关键帧”。
21、选中“图层1”第40帧,在“变形”面板里选择“约束”,在水平缩放或垂直缩放里输入缩放值为60%,然后按键盘中的“Enter键”确认。
22、选中“图层1”第40帧变形后的图形,在“属性”面板里设“颜色”—“Alpha”的值为30%。

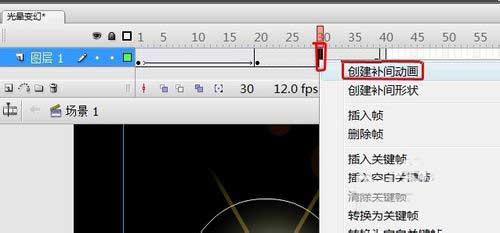
23、在“图层1”中第1帧至第20帧之间选择任意一帧,右键选择“创建补间动画”。

24、在“图层1”中第20帧至第40帧之间选择任意一帧,右键选择“创建补间动画”。
25、完成了,按CTRL+ENTER,效果出来了。
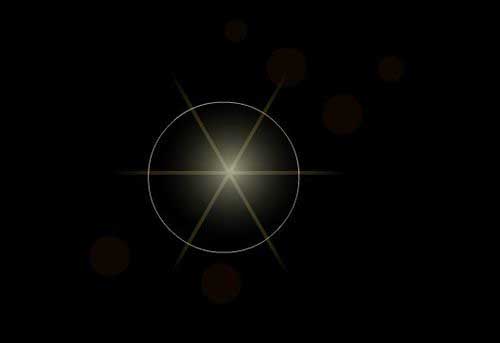
以上就是Flash制作光晕变幻的动画效果方法介绍,怎么样,大家学会了吗?感兴趣的朋友可以自己尝试自己制作一下哦!
推荐阅读:


 鄂公网安备: